· 4 min read
Why I Decided To Build Yet Another Baby Tracker
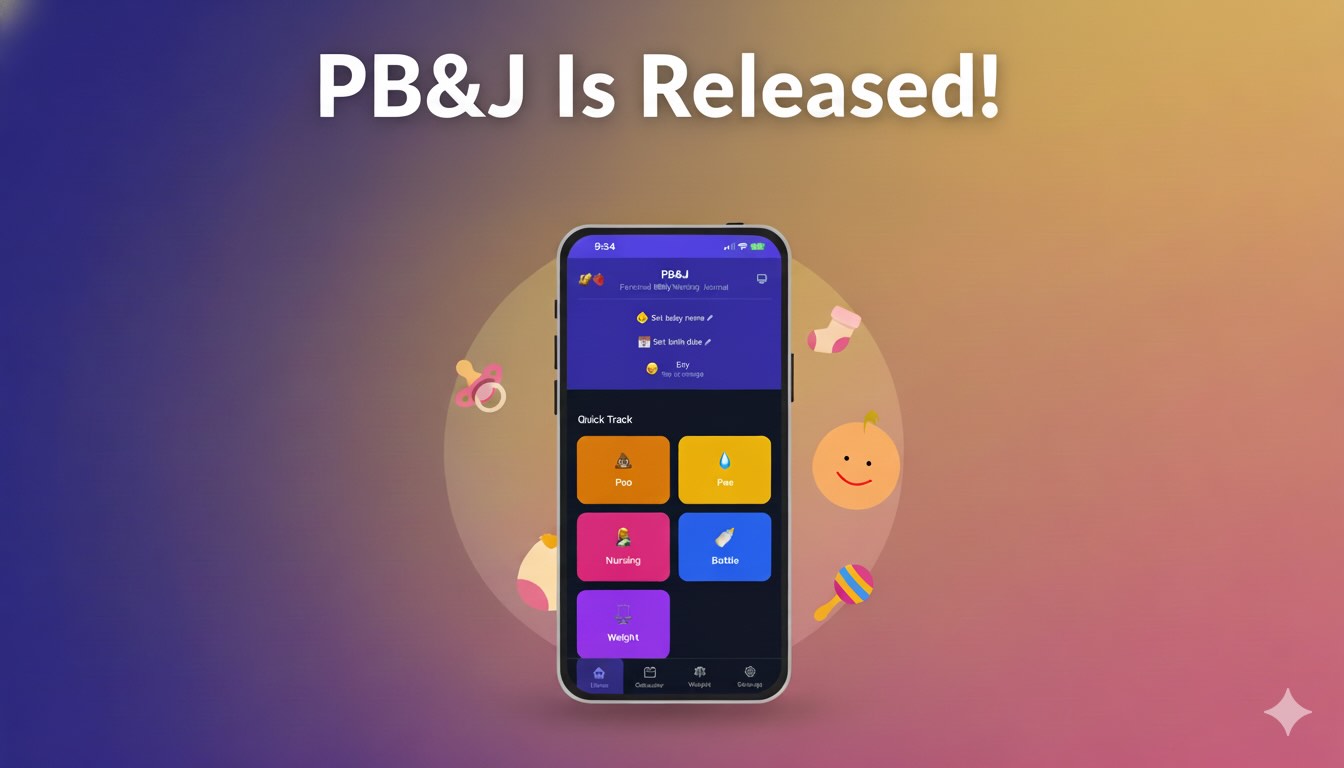
Say hello to PB&J!
When my beloved son was born a few months ago, like all other parents we wanted to document our nursing habits using a baby tracker.
But wait, aren’t there already plenty of baby trackers out there? Is it 2010 again?
The Problem
Yes - there are plenty of simple baby trackers in the app stores, but I was amazed to find out that most of them are either complex, not too convenient, try to lure you into spending money for extra features you don’t need, or show you ads instead.
But… all I wanted to do is document some human inputs and outputs 😂
The Solution
At the end of the day, it’s been a good opportunity to test out Claude Code as well in simple personal projects from the ground up, and watch how fast and easy it would be to build it.
I have to say that for personal usage and with lack of any hard design inputs, the end result came out pretty darn good - far beyond the multiple clicks and screens that required operating in most other apps.
Key Features
The nicest thing about PB&J, is that it is a simple and serverless PWA by nature, so it doesn’t require any installation of any kind and it’s agnostic of a specific platform or app store.
By default the data is kept on your local device and is completely private.
For the more tech-savvy users out there, I added an optional, cool data synchronization feature that syncs between devices through Firestore.
Another optional feature is the ability to broadcast real time notification between devices, so now both parents get updated about their baby’s poo. Hurray!
The AI Development Experience
Apparently, issuing realtime notifications which are reliable and platform agnostic in a PWA is not an easy task, so I found OneSignal which is a great service and has a sufficient free tier available.
Making sure that notifications do work though, was a task Claude fell behind a bit, and did not come up with a working solution.
I think that’s a nice part about AI - it takes your mental load down and takes care of the trivial stuff, leaving you to make the right design and architectural decisions plus the more interesting heavy lifting.
Privacy First
PB&J is based on a “Bring Your Own Keys” philosophy - meaning you’re in complete control over your data and your personal Firestore/Onesignal credentials. Nothing is sent to a remote server, except for a completely optional anonymized analytics and telemetry events (which you can opt-out from at any time, although it could help make the product better!).
To add some icing on the cake, the settings page shows a QR code of your configuration data - which allows easy setup with another device without entering credentials all over again.
If that sounds good, come and take PB&J for a spin!
Getting Started
Basic Usage
Just open the app and start tracking - no setup required! Your data is stored locally on your device by default.
Multi-Device Sync (Optional)
Want to sync data across devices? You’ll need to set up Firebase:
- Create a free Firebase project
- Enable Firestore Database and Anonymous Authentication
- Set Firestore security rules to allow authenticated users:
match /{document=**} { allow read, write: if request.auth != null; } - Copy your Firebase config from Project Settings
- In PB&J, go to Configuration and enter your Firebase credentials
Real-Time Notifications (Optional)
To get notified when your partner adds an activity:
- Create a free OneSignal account
- Create a Web Push app with these settings:
- Site Name:
pbnj - Site URL:
https://pbnj.baby - Enable “Auto-Resubscribe”
- Under Service Workers, set:
- Path:
/push/onesignal/ - Main filename:
OneSignalSDKWorker.js - Updater filename:
OneSignalSDKUpdaterWorker.js - Scope:
/push/onesignal/
- Path:
- Site Name:
- Copy your App ID and create a REST API Key
- Enter credentials in PB&J Configuration
- Allow browser notifications when prompted
Syncing Additional Devices
- On your primary device: Configuration > QR Code
- On the new device: Configuration > Scan QR Code
- Done! Both devices now sync in real-time